Video Copilot: Car Hit
Back When I Thought I'd Be an Animator

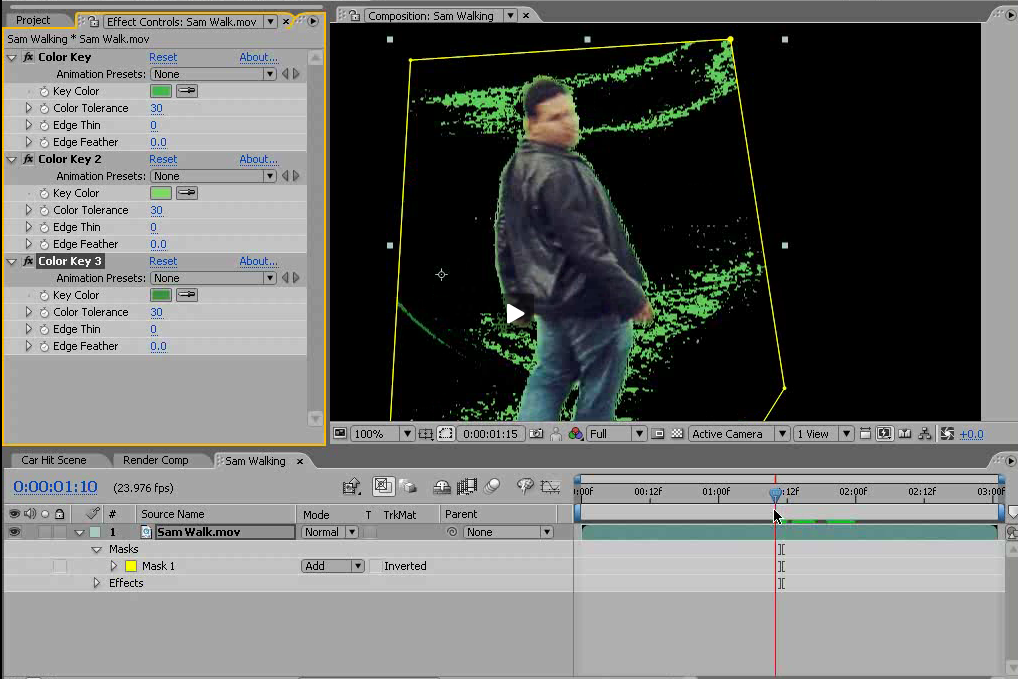
I created a mask around the main part of the guy, Sam, and used several color keys to remove the different shades of green on the green screen.
I feathered and trimmed the edges around Sam's body so he could seamlessly be placed over the truck driving clip. The background had to be slowly and carefully erased so it wouldn't look fake.
The most time consuming part of the tutorial was key framing Sam's legs. Because they weren't in front of the green screen, they each had to have a mask that was key framed at each frame to follow their movement. It was extremely tedious.
To make the truck look like Sam had actually hit it, I took a still of a smashed front end of a truck and used masks, anchor point adjustment, and motion key framing to make it crush from the impact of hitting Sam.
To create the shattering glass effect, I used the CC Particle World simulation. I adjusted the size, amount, and physics of the glass to make it look more realistic.
The best part was creating the shattering glass because most of the other steps didn't come into play, like actually fitting with the effect, until the end, whereas the glass was almost immediate. The tutorial was done really well. He did a good job of going step by step and also explaining why he was doing what he was doing and how it would contribute to the final product. And he didn't speak in monotone, so I wasn't too bored. I quite like the final result, even though it's only like two seconds long and it took me like six hours to make it. Sigh. But, all in all, I'm glad I chose this tutorial and stuck with it even when it was frustrating, which was like all the time.
Here's the link for this awesome tutorial: http://www.videocopilot.net/tutorials/advanced_car_hit/


No comments:
Post a Comment